
Install guide
How to install precut window tint at home.
20–40 minutes per window. 2–4 hours for a whole car. No knives near your glass — the film is already cut. What you're actually doing is cleaning glass, wetting film, and squeegeeing out water. Read every step before you start.
In one paragraph
Clean the glass twice (spray, wipe, razor, spray, wipe). Peel the film's liner with two pieces of tape. Soak the adhesive side and the glass with a distilled-water + baby-shampoo solution. Position, squeegee centre-out, heat-set the edges, then wait 48 hours before rolling the window down. Whole car: 2–4 hours. Whole cost: $180–$390 CAD in film.
- Step 1
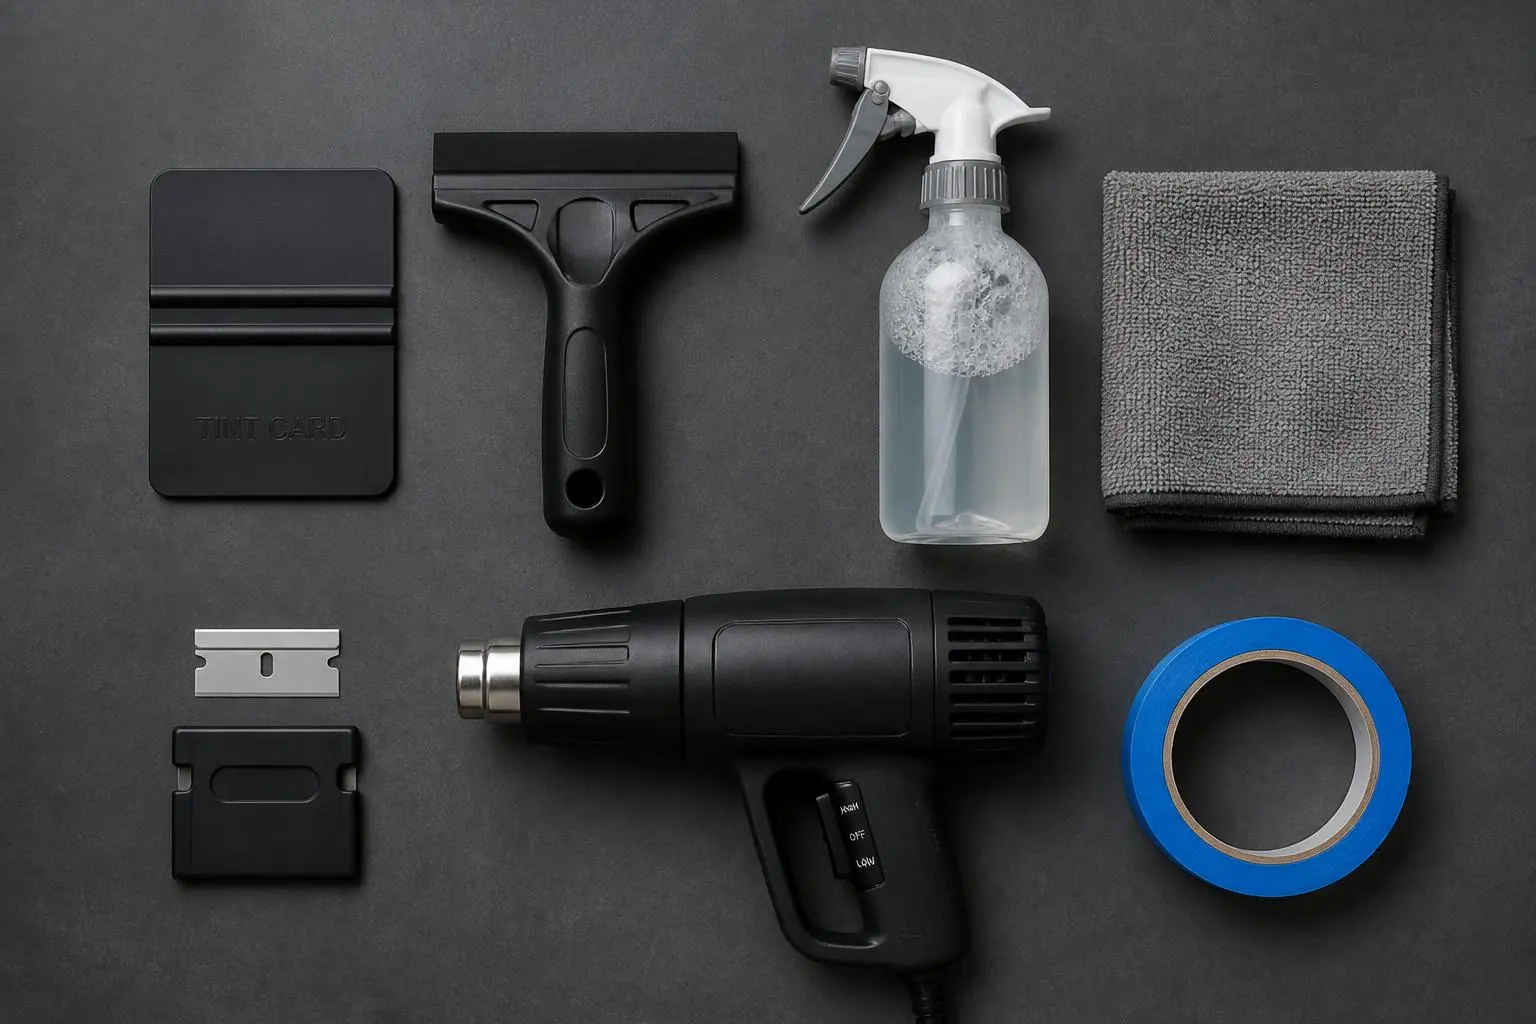
Gather tools
You'll need a hard card / squeegee, a lint-free microfiber, a spray bottle, a heat gun or hair dryer, and a razor blade with a fresh edge. Not needed: a knife against your glass — precut means no trimming.
- Step 2
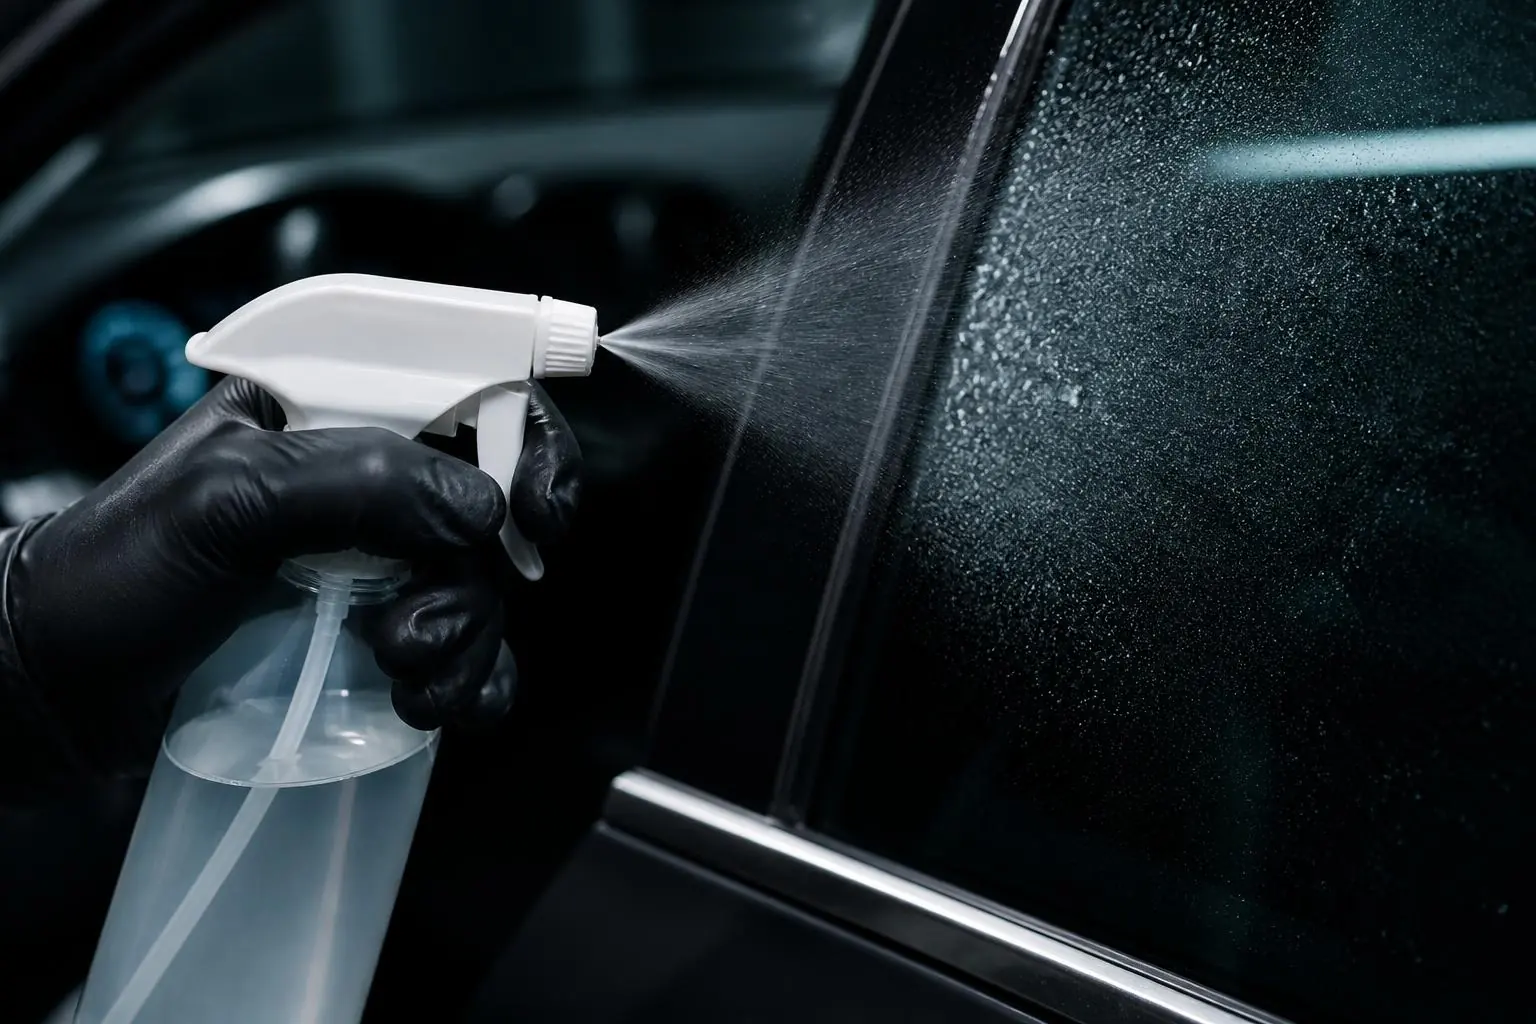
Mix the spray solution
1 litre of distilled water plus 3–4 drops of baby shampoo (no fragrance, no lotion). Shake, do not foam. This is your slip layer for the film and your wetting agent for the glass.
- Step 3
Clean the glass — twice
Spray, wipe with a fresh microfiber, then razor the entire pane at a shallow angle to lift bonded contaminants — side windows only, never the rear defroster. Spray again, wipe again. If you can see it in daylight, you'll see it forever once the film goes on. Full walkthrough: see our guide to cleaning glass before tinting.
- Step 4
Prep the film
Peel the liner with two pieces of tape (one on each side, pulled apart). Spray both the film's adhesive side and the glass generously — everything should be wet.
- Step 5
Position and squeegee
Place the film adhesive-side to glass, lightly reposition to align edges, then squeegee from centre outward. Long, overlapping strokes. Repeat until no water pockets remain.
- Step 6
Heat-set the edges
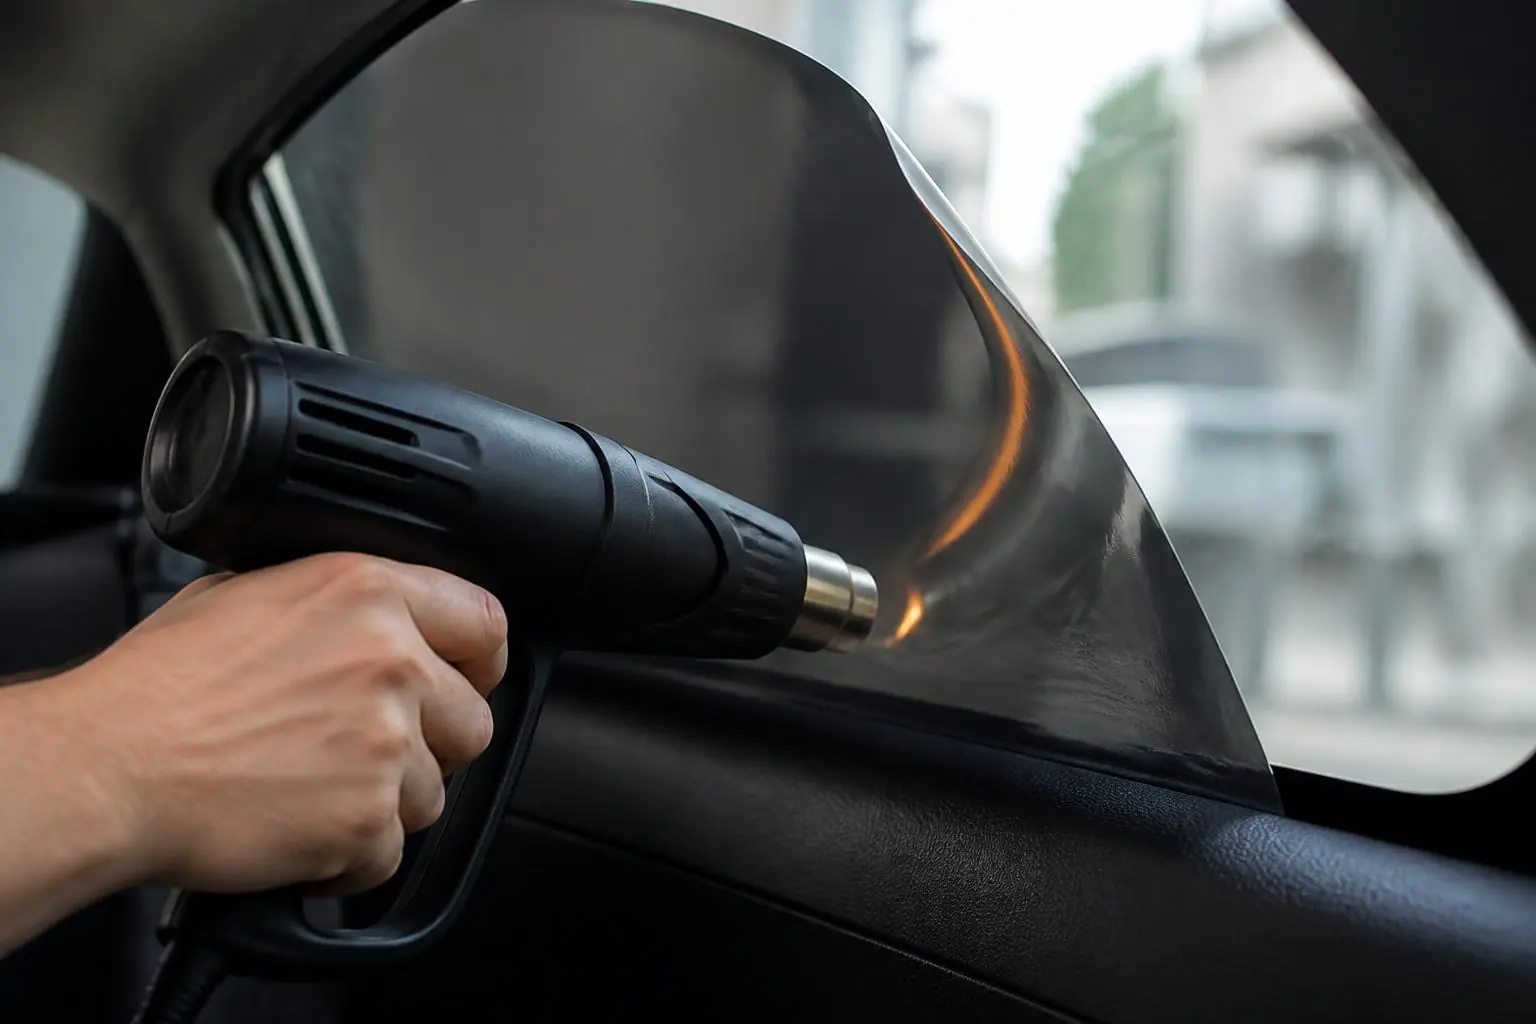
Warm the film with a heat gun at a distance and press the edges down with the hard card. This is what stops the film from lifting on curved glass.
- Step 7
Wait 48 hours before rolling windows down
The adhesive cures for 3–5 days. Small water haze is normal for the first week — it dries out through the film. Don't panic; don't peel.
Tips for each window
Every pane on the car behaves differently. Do them in this order — easiest first — so your hands are trained by the time you reach the rear windshield.
Front doors
Easiest20–30 min eachStart here to build confidence. Drop the glass ~2 cm first, tuck the film's top edge above the seal, squeegee the top band, then raise the glass fully and finish the bottom. Watch the bottom corners — that's where the felt sweep hides dirt.
Rear doors
Moderate25–35 min eachMost rear doors have a fixed quarter glass and a curved top corner. Heat the top corner lightly and use the felt card so the film relaxes into the curve instead of fingering. Clean the frame track first — rear door channels collect the most grit.
Quarter / vent glass
Fiddly, not hard10–15 min eachSmall triangles are the easiest to contaminate because you handle them the most. Wet your fingertips before touching them, and squeegee from the widest edge toward the point so water has somewhere to go.
Rear windshield
Hardest40–60 minThe one compound curve on the car, and it has defroster lines. Never razor-scrape across defroster grid lines — clean with a microfiber only. Squeegee along the lines, not across them, and keep the heat gun moving so you don't scorch a line.
Sunroof
Moderate20–30 minTilt the roof open and work from inside standing on a seat-safe step. Gravity fights you here — over-wet the glass so the film floats instead of grabbing, and squeegee front to back.
Windshield strip / brow
Easy15 minCheck legality first: most provinces allow a strip only above the AS-1 line. Tape a guide line before you position so the strip sits perfectly level across the top.
Curved glass — rear windshields, quarter windows, curved door corners — needs heat shrinking on the outside of the glass before the piece goes in the car. Read the heat-shrinking guide.
Printable install checklist
Print it, tape it to the garage wall, tick as you go. Only the checklist prints — not the rest of the page.
Tools
- Hard-card squeegee (plus a felt-edged card for curved glass)
- 2 clean lint-free microfibers
- Spray bottle with a fine mist
- Heat gun or hair dryer
- Fresh razor blade — glass cleaning only
- Masking tape (2 strips for peeling the liner)
- Utility light or headlamp
Supplies
- Your precut ceramic kit — pieces labelled and matched to the vehicle
- 1 L distilled water
- 3–4 drops unscented, no-lotion baby shampoo
- Paper towel for door sills and drips
Before you start
- Working indoors, out of wind and direct sun
- Glass temperature between 15–30 °C
- Floor swept / garage dust settled
- Windows rolled fully up and door panels dry
- 3 uninterrupted hours blocked off
- Checked your province's legal VLT for front side windows
After the last piece
- Edges heat-set and pressed down
- No windows rolled down for 48 hours
- Expect light water haze for up to a week — do not peel
- Final fit and edges checked before cleanup
Install FAQ
How long does it take to install precut window tint at home?
20–40 minutes per window for a first-timer, and 2–4 hours end-to-end for a full car including cleaning and prep. Front doors are easiest; the curved back glass is the hardest single piece.
What tools do I need to install precut tint?
A hard-card squeegee, lint-free microfiber, spray bottle, heat gun or hair dryer, and a fresh razor blade for cleaning (never for cutting the film). The film itself is already computer-cut — no knife touches your glass.
What spray solution do I use to install window tint?
One litre of distilled water plus 3–4 drops of unscented, no-lotion baby shampoo. Shake, don't foam. This is your slip layer for the film and your wetting agent for the glass.
How long before I can roll the window down after tinting?
Wait at least 48 hours. Full adhesive cure takes 3–5 days depending on temperature and humidity. Some water haze in the first week is normal — don't panic, don't peel.
Can I install window tint in cold weather?
Ideal temperature is 15–30°C. In Canadian winters, install indoors in a heated garage — cold glass causes the adhesive to skin over before you can position the film.
Mistakes that ruin a piece
- Dry film on dry glass. Everything must be wet — no exceptions.
- Fingerprints on the adhesive. Handle by the edges only. Adhesive is unforgiving.
- Squeegeeing edges first. Always centre-out. Otherwise water bubbles get trapped.
- Rolling the window down too early. Wait 48 hours minimum, 5 days ideally.
- Windy day / dusty garage. One speck under the film is one speck forever.
Ready to install?
Find your vehicle and order the pieces you need. Free shipping on orders over $99. Ships from Canada.
Keep reading
- Read
Cleaning glass before tinting
One shot at it — soapy water, two passes, never blade the defroster.
- Read
Heat-shrinking curved glass
Shrink on the outside, liner on, before it goes in the car.
- Read
Precut tint cost in Canada
$180–$390 DIY vs $350–$800 at a shop.
- Read
Ceramic vs. dyed film
Why ceramic lasts 10+ years without fading purple.
- Read
Shade guide (VLT %)
What 5%, 20%, 35% and 50% actually look like.
- Read
The Botch-It Guarantee
One replacement within 30 days; you cover $30 shipping.